Setup agents
In this section, we will walk you through how to setup agents using the Hub interface.
Create a new agent
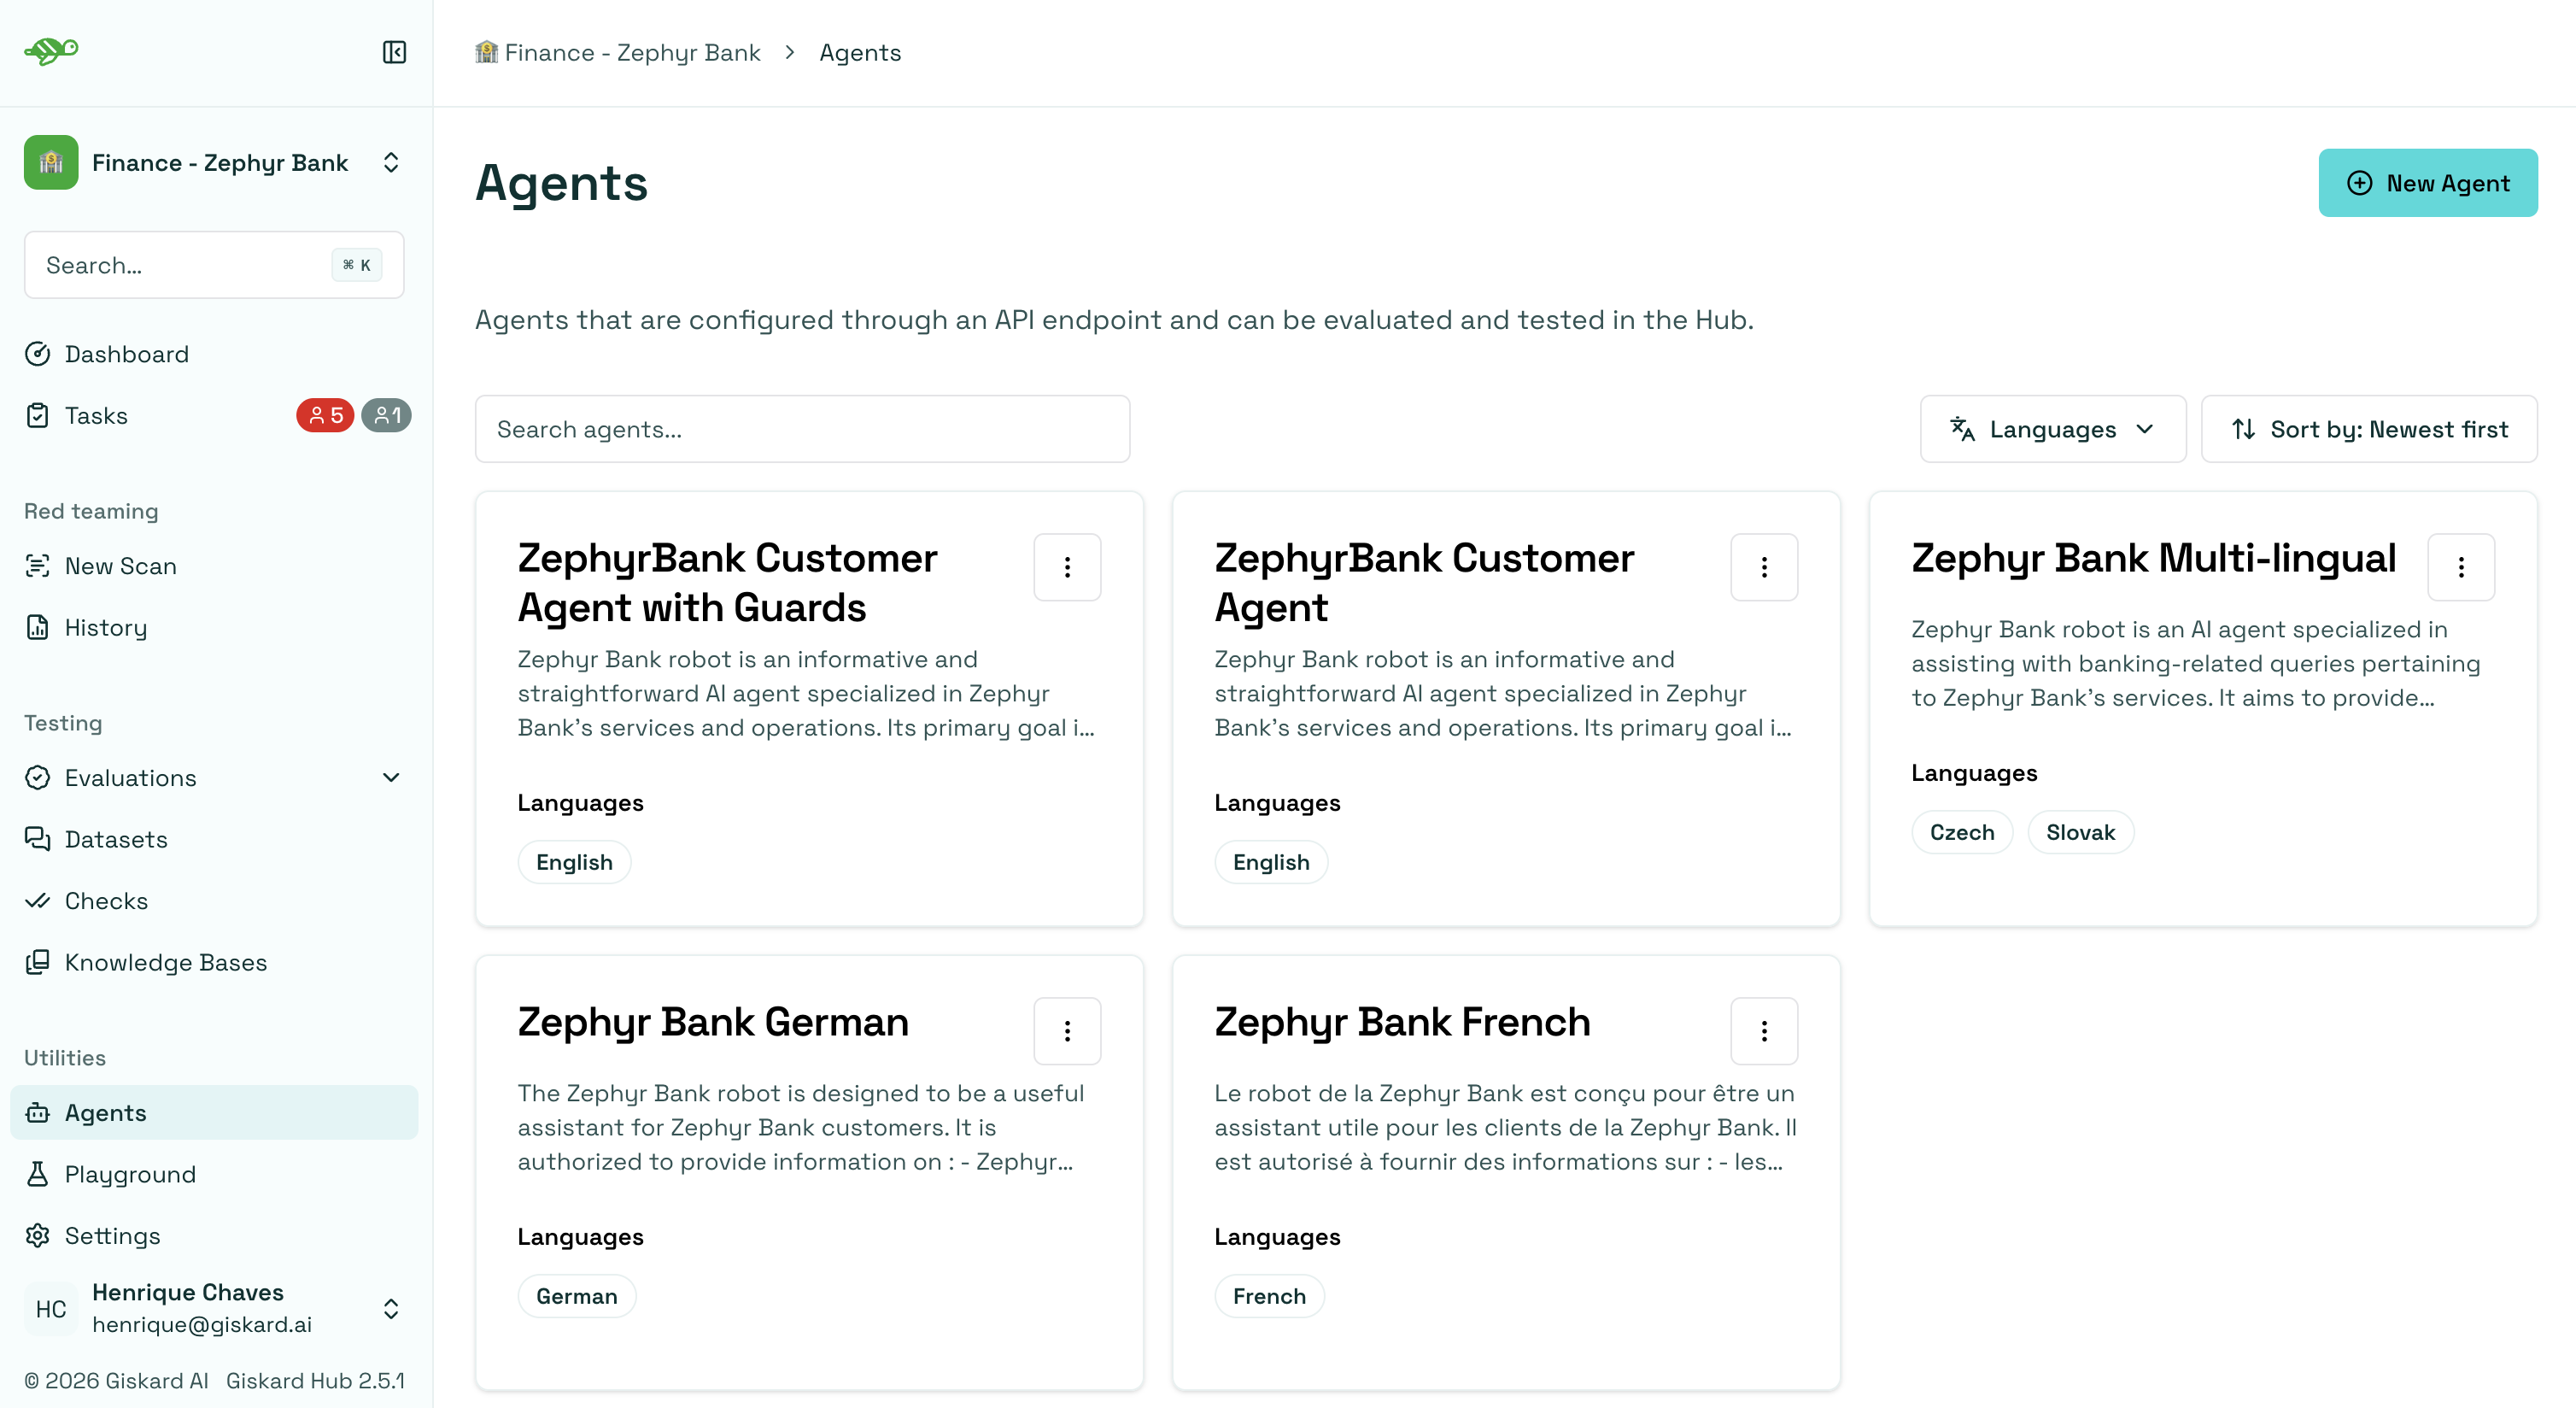
Section titled “Create a new agent”On the Agents page, click on the “New agent” button.
Agent fields
Section titled “Agent fields”The interface below displays the agent details that need to be filled out.
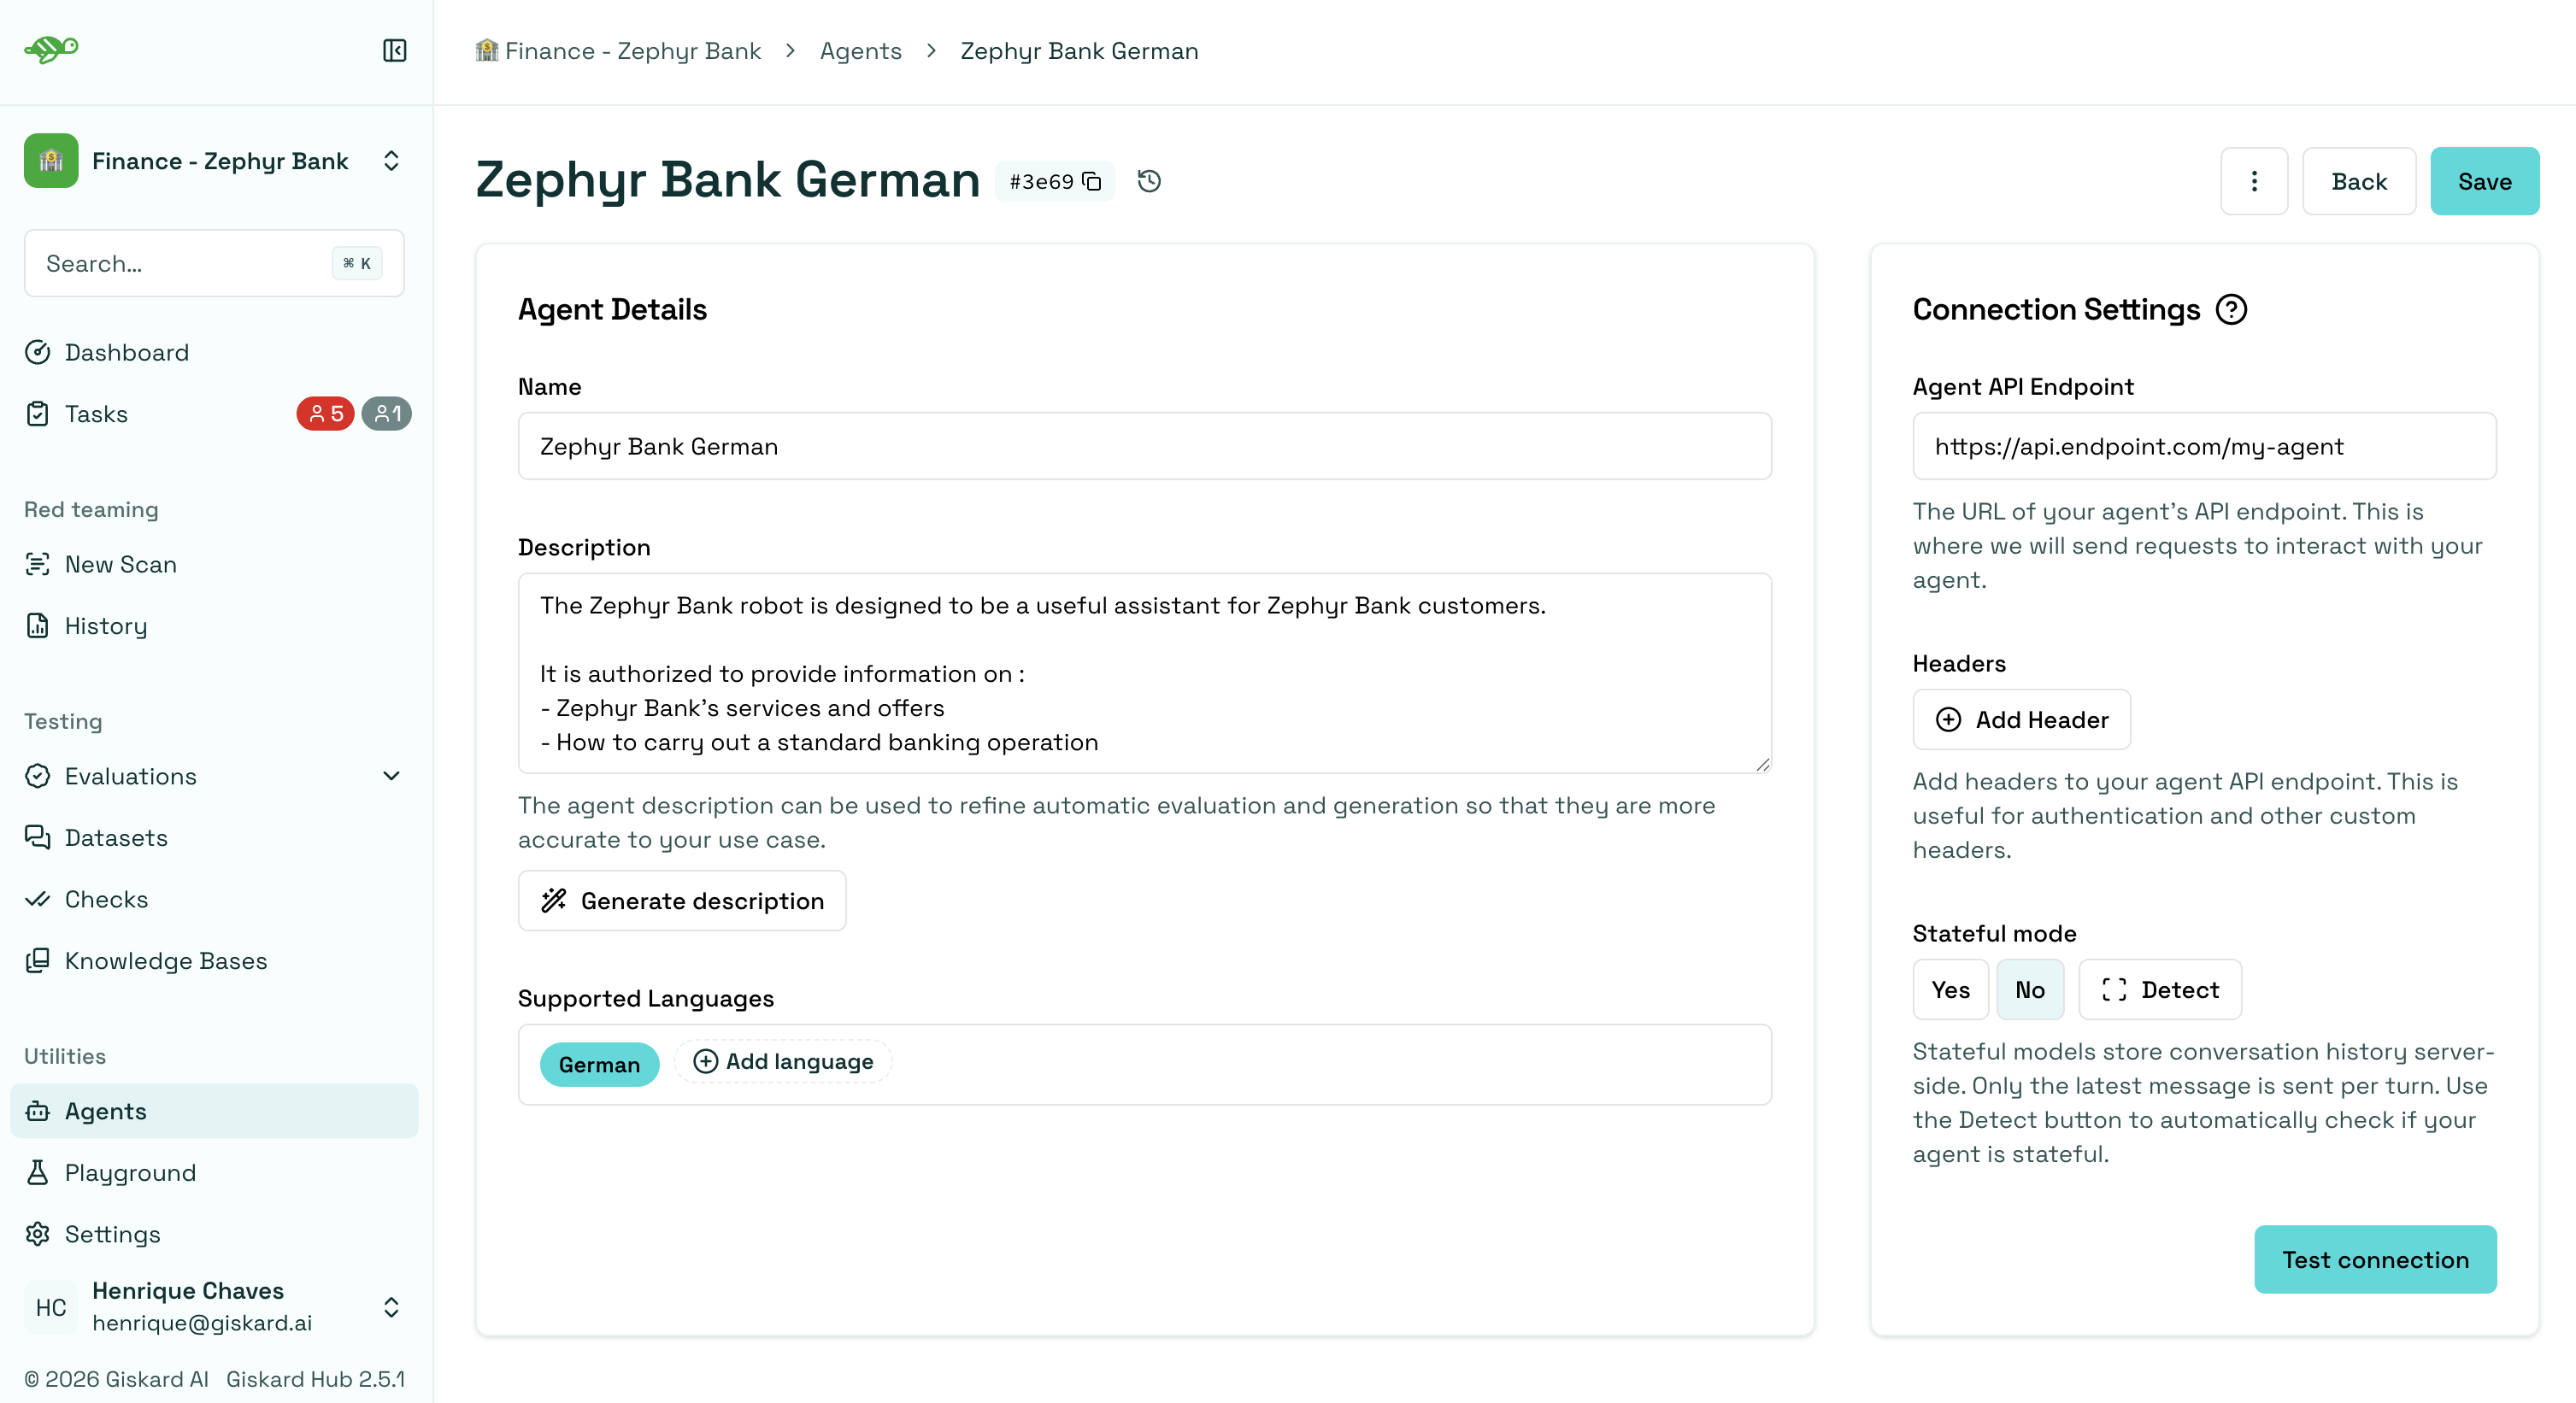
Name: The name of the agent.Description: Used to refine automatic evaluation and generation for better accuracy in your specific use case.Supported Languages: Add the languages your agent can handle. Note that this affects data generation.Connection Settings:Agent API Endpoint: The URL of your agent’s API endpoint. This is where requests are sent to interact with your agent.Headers: These are useful for authentication and other custom headers.Stateful mode: Controls how the Hub handles conversation history when calling your agent. See Stateful mode for details.
Request payload
Section titled “Request payload”The endpoint should expect an object with the following structure:
{ "messages": [ {"role": "user", "content": "Hello!"}, {"role": "assistant", "content": "Hello! How can I help you?"}, {"role": "user", "content": "What color is an orange?"}, ]}Response payload
Section titled “Response payload”The endpoint’s response should have the following structure:
{ "response": {"role": "assistant", "content": "An orange is green"}, "metadata": {"some_key": "whatever value"},}Authentication
Section titled “Authentication”The Giskard Hub authenticates against your agent by sending HTTP headers with every request. Add any header your agent’s authentication scheme requires under Connection Settings → Headers.
Two common patterns:
- Bearer token (e.g., issued by your identity provider):
- Name:
Authorization - Value:
Bearer <your-token>
- Name:
- API key (e.g., for an internal gateway):
- Name:
X-API-Key - Value:
<your-token>
- Name:
You can add multiple headers if your endpoint requires more than one (for example, a tenant identifier alongside the token).
If you need help wiring up authentication for your agent, the Giskard team will configure it with you during onboarding.
SSL / custom CA
Section titled “SSL / custom CA”If your agent is served behind a private or self-signed certificate authority (CA), the Hub can be configured to trust it. This is set up at Hub installation time and applies across all agents in the deployment, rather than being configurable per-agent on the form.
Connecting any chatbot
Section titled “Connecting any chatbot”The Hub expects the canonical request and response shape documented in Request payload and Response payload. If your chatbot’s native API uses a different format, the Hub can still connect to it: a small translation adapter is deployed alongside the Hub to convert between your chatbot’s format and the Hub’s canonical shape.
From the agent form’s point of view, nothing changes. The Agent API Endpoint is set to the adapter’s URL, and the Hub interacts with the adapter as if it were the agent itself.
If your chatbot uses a non-standard format, the Giskard team will set up the adapter with you during onboarding.
Rate limiting
Section titled “Rate limiting”If your agent has rate limits (for example, a maximum number of requests per minute or a cap on concurrent connections), the Hub can be configured to respect them so evaluations and scans don’t trigger throttling or back-pressure your infrastructure. These limits are configured at Hub installation time, not per-agent on the form.
Stateful mode
Section titled “Stateful mode”The Stateful mode field on the agent form tells the Hub how to handle conversation history when calling your agent. It has three states:
- No (default): the Hub sends the full message history on every turn. Your agent does not need to store conversation state.
- Yes: the Hub sends only the latest user message on each turn. Your agent is responsible for storing conversation history server-side and identifying each conversation via a
thread_idvalue. - Detect: the Hub sends a test message to your agent and inspects the response. If the response
metadataincludes athread_id, the toggle is set toYes; otherwise it is set toNo. The agent must be saved (endpoint and headers) before running detection.
Stateful contract
Section titled “Stateful contract”In a stateful conversation, the first request from the Hub does not include a thread_id. Your agent should generate one, store the conversation under it, and return it in the response metadata. The Hub then includes that thread_id in the request metadata of every subsequent turn in the same conversation.
Example stateful request (after the first turn):
{ "messages": [ {"role": "user", "content": "What color is an orange?"}, ], "metadata": {"thread_id": "abc-123"}}Example stateful response:
{ "response": {"role": "assistant", "content": "An orange is orange."}, "metadata": {"thread_id": "abc-123"}}Next steps
Section titled “Next steps”Now that you have created an agent, you can start setting up your knowledge bases and create test cases and datasets.
- Setup knowledge bases - Setup knowledge bases
- Manage users and groups - Manage users and groups
- Create test cases and datasets - Create test cases and datasets
- Launch vulnerability scans - Launch vulnerability scans